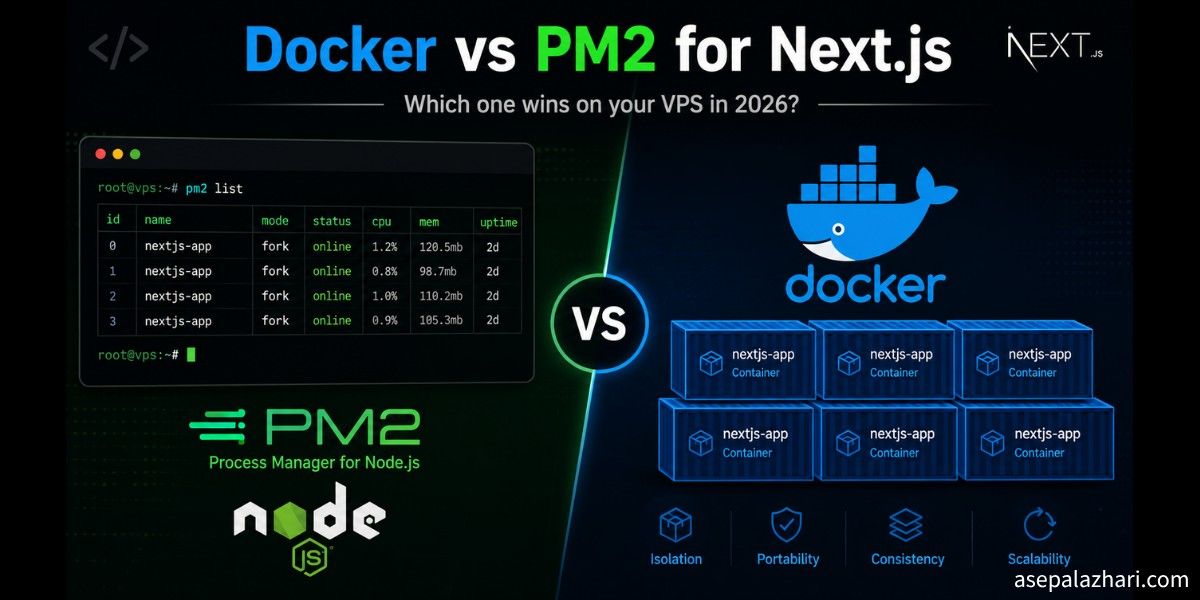
Docker vs PM2 for Next.js on VPS: The 2026 Deployment Guide
PM2 is simple. Docker is powerful. On a VPS with 7 GB idle RAM, the real choice is about pipelines, portability, and scale. Find out which one fits your stack.
Docker vs PM2 for Next.js on VPS: The 2026 Deployment Guide
I was staring at my VPS dashboard one afternoon and the numbers caught my eye. CPU at 0%. RAM showing 423 MB used out of 7.8 GB. Disk at 4.6 GB of 58 GB. Load average sitting at 0.00. My Next.js app was running perfectly on PM2. But the thought kept coming back: am I doing this the right way, or am I leaving operational problems for future me to deal with?
That question pushed me to run a proper comparison. I looked at resource usage, deployment workflows, CI/CD integration, and long-term maintenance across both approaches. This is what I found.
TL;DR: Quick Comparison
| Feature | Native + PM2 | Docker |
|---|---|---|
| Setup time | Fast | Moderate |
| Environment isolation | None | Full per container |
| Node version control | Manual (.nvmrc) | Dockerfile ARG |
| CI/CD integration | SSH + git pull | Registry push + pull |
| Rollback | Restart previous build | docker run previous tag |
| Horizontal scaling | Hard | Built-in with Compose |
| Portability | Low | High |
| Maintenance overhead | High over time | Low with images |
Native + PM2: The Default Starting Point
Most Next.js production tutorials end here:
npm install -g pm2
pm2 start npm --name "my-app" -- start
pm2 save
pm2 startup
That gives you a background process that survives crashes and reboots. PM2 is a solid process manager. It logs output, restarts on failure, and shows CPU and memory per process. For a solo project or a quick production deploy, it genuinely gets the job done.
The appeal is the lack of abstraction. You SSH in, clone the repo, install packages, and start the app. Node runs directly on the host. You see it in htop. Logs are where you expect them. There is no registry, no daemon, no orchestration layer to reason about.
The cracks appear when complexity grows.
Upgrading Node.js from 20 to 22 means a global upgrade on the server. Every app on that machine moves together. If one app has an incompatible dependency, it breaks. Rolling back means downgrading Node globally and hoping nothing else on the server depends on the newer version.
Environment variables sit in a .env file you manage by hand. Deploy a new server and you need to recreate that file manually. Miss one variable and you get a silent runtime error that is annoying to debug.
Reproducing the environment on a second server means following the same setup steps again. There is no single file that captures the full environment definition. The closest you get is a README or a shell script that drifts over time.
Docker for Next.js: What Actually Changes
Docker packages your application and its entire runtime into a single image. That image contains Node, your app code, and all its dependencies. It runs identically on your laptop, on a CI runner, on staging, and on production.
For Next.js, one setting is essential before building your Docker image. Add this to next.config.js:
const nextConfig = {
  output: 'standalone',
}

module.exports = nextConfig
The standalone output mode tells Next.js to copy only the server files your app actually uses into .next/standalone. It traces dependencies at build time and produces a self-contained directory. A typical Next.js app shrinks from 500 MB or more down to 150 to 250 MB.
Here is a production-ready multi-stage Dockerfile for Next.js:
FROM node:22-alpine AS deps
WORKDIR /app
COPY package.json package-lock.json ./
RUN npm ci --only=production

FROM node:22-alpine AS builder
WORKDIR /app
COPY --from=deps /app/node_modules ./node_modules
COPY . .
RUN npm run build

FROM node:22-alpine AS runner
WORKDIR /app

ENV NODE_ENV=production
ENV PORT=3000
ENV HOSTNAME=0.0.0.0

RUN addgroup --system --gid 1001 nodejs
RUN adduser --system --uid 1001 nextjs

COPY --from=builder /app/public ./public
COPY --from=builder --chown=nextjs:nodejs /app/.next/standalone ./
COPY --from=builder --chown=nextjs:nodejs /app/.next/static ./.next/static

USER nextjs

EXPOSE 3000

CMD ["node", "server.js"]
This image runs as a non-root user. The final stage contains no build tools, no dev dependencies, and no source files beyond what the server needs. The result is a small, auditable, reproducible artifact.
When VPS Resource Efficiency Actually Matters
This is the part where the argument against Docker usually falls apart on modern hardware.
Consider the actual numbers from the VPS mentioned at the start:
- RAM used before any containers: 423 MB
- Docker daemon running idle: roughly 50 to 80 MB overhead
- One Next.js container running: roughly 100 to 150 MB
Total memory consumption with Docker: around 600 to 650 MB. That leaves more than 7 GB free on a 7.8 GB machine.
At idle, a parked Docker container running Next.js consumes near-zero CPU. The runtime behavior is not meaningfully different from PM2. When a request comes in, Node handles it inside the container. The container boundary adds microseconds of overhead per connection, not milliseconds.
The resource argument against Docker applies when a machine is already running at 85 or 90 percent capacity. On a fresh VPS with most of its RAM sitting empty, the overhead is irrelevant. You are not trading performance. You are trading a few hours of initial setup for months of cleaner operations.
Also Read: Mastering Automated Docker Tagging in GitLab CI/CD: A Practical Guide
Why I Choose Docker: 3 Real Reasons
1. Portability
Build the image once. Push it to a registry. Pull it to any server. The app runs the same everywhere because the environment travels with it.
Onboarding a new developer means one command: docker compose up. No global Node installs, no version mismatches, no “works on my machine” debugging sessions. Moving to a new VPS provider means pulling the image and starting the compose file.
2. Isolation and Security
Each container runs in its own network namespace. Services that should not communicate do not, unless you explicitly create the network connections. A Node vulnerability in one app does not expose another app on the same host.
There is no global state to accumulate. A container you drop is gone cleanly. Recreating it from the image brings back exactly the same environment, not a copy with months of manual changes layered on top.
Running as a non-root user inside the container is one line in the Dockerfile. Doing the same with a raw PM2 process requires more manual configuration and is easy to skip.
3. Maintenance and Upgrades
Upgrading Node.js means editing one line in the Dockerfile and rebuilding:
FROM node:22-alpine AS depsThe previous image still exists in your registry, tagged with the old commit SHA. Rollback is docker run with the old tag. No reinstalling, no global changes to the host.
With PM2, a Node upgrade on the server touches every app on that machine at once. If something breaks, you are debugging a global state change while your production app is down.
Build Pipeline: GitLab Runner and GitHub Actions
This is where Docker pays back the setup cost ten times over.
Syncing Versions Without Drift
The Dockerfile is the single source of truth for your runtime. Your CI pipeline reads it directly:
# .gitlab-ci.yml
variables:
  NODE_VERSION: "22"

build-image:
  stage: build
  image: docker:26
  services:
    - docker:dind
  before_script:
    - docker login -u $CI_REGISTRY_USER -p $CI_REGISTRY_PASSWORD $CI_REGISTRY
  script:
    - docker build
        --build-arg NODE_VERSION=$NODE_VERSION
        -t $CI_REGISTRY_IMAGE:$CI_COMMIT_SHORT_SHA
        -t $CI_REGISTRY_IMAGE:latest
        .
    - docker push $CI_REGISTRY_IMAGE:$CI_COMMIT_SHORT_SHA
    - docker push $CI_REGISTRY_IMAGE:latest
Every environment uses the same image. There is no version that works on the CI runner but not on the server.
Choosing the Executor
GitLab Runner has two practical options for building Docker images.
The docker executor runs each CI job inside a fresh container. To build images from inside a container, you add docker:dind as a service. This gives you full isolation per job and a clean environment every time.
The shell executor runs jobs directly on the runner host. If Docker is already installed on that host, you can build and push without DinD. This is simpler and faster to set up but shares the host environment across all jobs.
For GitHub Actions, the standard approach uses ubuntu-latest with the official build-and-push action:
name: Build and Deploy

on:
  push:
    branches: [main]

jobs:
  build:
    runs-on: ubuntu-latest
    permissions:
      contents: read
      packages: write

    steps:
      - uses: actions/checkout@v4

      - name: Log in to GHCR
        uses: docker/login-action@v3
        with:
          registry: ghcr.io
          username: ${{ github.actor }}
          password: ${{ secrets.GITHUB_TOKEN }}

      - name: Build and push
        uses: docker/build-push-action@v6
        with:
          context: .
          push: true
          tags: |
            ghcr.io/${{ github.repository }}:latest
            ghcr.io/${{ github.repository }}:${{ github.sha }}
Full Deploy Pipeline for GitLab
A complete pipeline that builds, tags, and deploys to a VPS:
stages:
  - build
  - deploy

build-image:
  stage: build
  image: docker:26
  services:
    - docker:dind
  before_script:
    - docker login -u $CI_REGISTRY_USER -p $CI_REGISTRY_PASSWORD $CI_REGISTRY
  script:
    - docker build -t $CI_REGISTRY_IMAGE:$CI_COMMIT_SHORT_SHA .
    - docker tag $CI_REGISTRY_IMAGE:$CI_COMMIT_SHORT_SHA $CI_REGISTRY_IMAGE:latest
    - docker push $CI_REGISTRY_IMAGE:$CI_COMMIT_SHORT_SHA
    - docker push $CI_REGISTRY_IMAGE:latest
  only:
    - main

deploy-production:
  stage: deploy
  image: alpine:latest
  before_script:
    - apk add --no-cache openssh-client
    - eval $(ssh-agent -s)
    - echo "$SSH_PRIVATE_KEY" | ssh-add -
    - mkdir -p ~/.ssh
    - ssh-keyscan -H $SERVER_IP >> ~/.ssh/known_hosts
  script:
    - ssh deploy@$SERVER_IP "
        docker login -u $CI_REGISTRY_USER -p $CI_REGISTRY_PASSWORD $CI_REGISTRY &&
        docker pull $CI_REGISTRY_IMAGE:latest &&
        docker compose -f /opt/myapp/docker-compose.yml up -d --no-deps app
      "
  only:
    - main
  needs:
    - build-image
The only: main rule means this pipeline only runs on pushes to main. The SSH deploy step pulls the new image and restarts only the app service without touching the rest of the compose stack.
Also Read: How to Reduce Server CPU Usage by 60% with Nginx Caching for Next.js Applications
Next.js 2026 Deployment Strategy
Docker Compose for Production
A practical docker-compose.yml for a Next.js app behind Nginx:
services:
  app:
    image: registry.gitlab.com/yourorg/yourapp:latest
    restart: always
    environment:
      - NODE_ENV=production
      - DATABASE_URL=${DATABASE_URL}
      - NEXTAUTH_SECRET=${NEXTAUTH_SECRET}
    expose:
      - "3000"
    healthcheck:
      test: ["CMD", "wget", "-qO-", "http://localhost:3000/api/health"]
      interval: 30s
      timeout: 10s
      retries: 3
      start_period: 40s
    networks:
      - app-network

  nginx:
    image: nginx:alpine
    restart: always
    ports:
      - "80:80"
      - "443:443"
    volumes:
      - ./nginx.conf:/etc/nginx/conf.d/default.conf:ro
      - /etc/letsencrypt:/etc/letsencrypt:ro
    depends_on:
      app:
        condition: service_healthy
    networks:
      - app-network

networks:
  app-network:
    driver: bridge
A minimal Nginx config that proxies to the container:
server {
    listen 80;
    server_name yourdomain.com;
    return 301 https://$host$request_uri;
}

server {
    listen 443 ssl;
    server_name yourdomain.com;

    ssl_certificate /etc/letsencrypt/live/yourdomain.com/fullchain.pem;
    ssl_certificate_key /etc/letsencrypt/live/yourdomain.com/privkey.pem;

    location / {
        proxy_pass http://app:3000;
        proxy_http_version 1.1;
        proxy_set_header Upgrade $http_upgrade;
        proxy_set_header Connection 'upgrade';
        proxy_set_header Host $host;
        proxy_set_header X-Real-IP $remote_addr;
        proxy_set_header X-Forwarded-For $proxy_add_x_forwarded_for;
        proxy_set_header X-Forwarded-Proto $scheme;
        proxy_cache_bypass $http_upgrade;
    }
}
Docker Socket vs DinD
The Docker socket at /var/run/docker.sock gives a container access to the host Docker daemon. Mounting it lets you run Docker commands from inside a container as if you were on the host directly.
For CI builds, DinD (Docker-in-Docker) is safer. It runs its own Docker daemon inside the job container. Builds are isolated and do not share state with the runner host.
For production deployments, avoid rebuilding on the server. Use the registry push and pull model instead. The CI pipeline builds and pushes. The server only pulls and restarts. The server needs no build tools and no access to your source code. This keeps the attack surface small.
Zero-Downtime Updates
When a new image is ready:
docker compose pull app
docker compose up -d --no-deps app
Compose stops the old container and starts the new one. The health check defined in the compose file ensures the new container is responsive before traffic is routed to it.
For stricter zero-downtime, run two containers behind Nginx with upstream weights. Deploy to the idle container, verify health, then shift Nginx traffic and drain the old one.
Scalability
PM2 cluster mode scales vertically. It forks worker processes up to the number of CPU cores. On a 4-core VPS you get 4 workers. That is the ceiling. More traffic means a bigger VPS.
Docker Compose scales horizontally with replicas:
services:
  app:
    image: registry.gitlab.com/yourorg/yourapp:latest
    deploy:
      replicas: 3
    networks:
      - app-network
On the VPS described at the start of this article (4 cores, 7.8 GB RAM), running three to five Next.js containers alongside Nginx is well within resource limits. Each container uses around 100 to 150 MB of RAM at idle.
When you outgrow a single VPS, you add a second node and set up Docker Swarm. When Swarm is not enough, you graduate to Kubernetes. The container abstraction does not change between steps. Your docker-compose.yml is already most of what you need for Swarm.
The path with PM2 hits a ceiling faster. Vertical scaling has limits. Migrating from PM2 to containers later costs more than starting with containers now.
Which One Should You Choose
| Scenario | Recommendation |
|---|---|
| Solo side project, no team | PM2 is fine to start |
| Two or more environments needed | Docker from day one |
| CI/CD pipeline in place | Docker always |
| Staging that mirrors production | Docker always |
| Planning horizontal scale | Docker now, not later |
| Long-term maintenance matters | Docker always |
Conclusion
On a VPS with 7 GB of idle RAM and a load average of 0.00, Docker overhead is simply not the story. The story is reproducibility, clean pipelines, easy rollbacks, and a scale path that does not require rewriting your deployment strategy.
PM2 gets you running in 10 minutes. Docker gets you running correctly, consistently, and confidently across every environment.
Start with output: 'standalone' in your next.config.js. Write the Dockerfile. Set up the build pipeline. The first time you deploy a fix to production in under three minutes from a single git push, with full rollback capability and a clean audit trail, you will know the setup time was worth it.