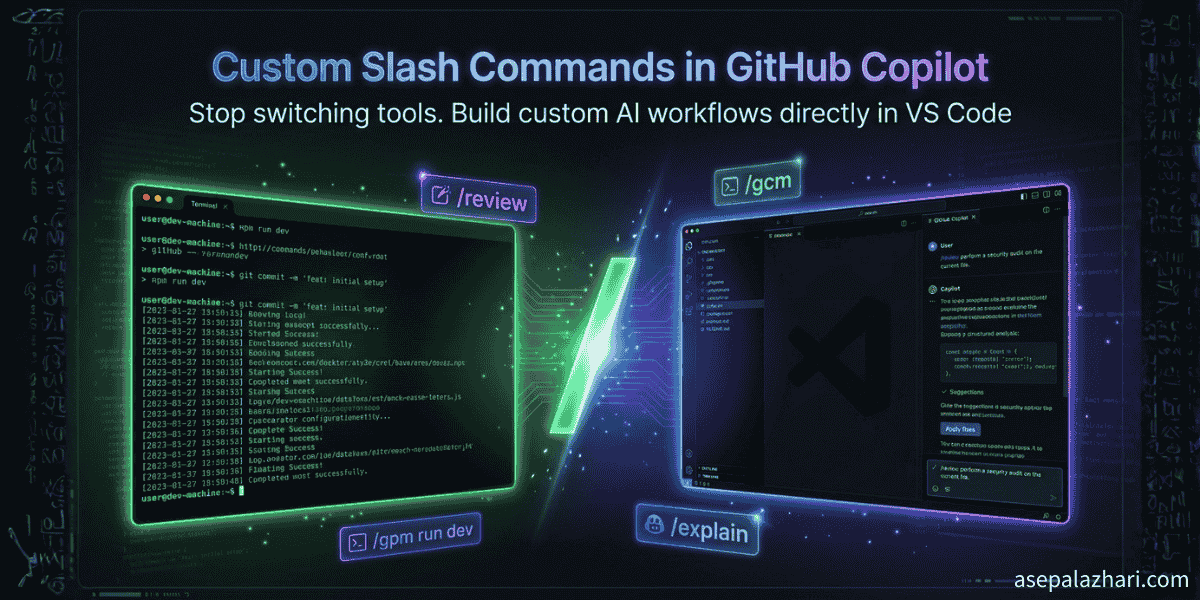
Custom Slash Commands in GitHub Copilot The Ultimate Guide
Stop switching between terminal AI tools. Learn how to create custom slash commands in GitHub Copilot to standardize your workflows directly within VS Code.
I used to feel like a wizard using CLI tools like Claude Code in my terminal. I had specific commands set up to review code or generate commit messages based on messy diffs. It felt powerful. But then reality hit when I had to copy the output from the terminal and paste it back into VS Code. It completely broke my flow. I realized I needed that same custom power directly inside my editor without constantly alt-tabbing. That is when I discovered that GitHub Copilot lets you define your own custom slash commands.
The Magic of Prompt Files
GitHub Copilot in VS Code has a somewhat hidden feature called Prompt Files. These are essentially simple Markdown files where you define reusable instructions and templates for the AI. They live in a specific folder inside your project structure.
The real magic happens once you save these files. Copilot automatically indexes them. The next time you open the Chat interface and type a forward slash your custom command appears right alongside built-in ones like /explain or /fix. It is like building your own personal AI assistant tailored exactly to your own workflows or your team coding standards.
Creating Your First Custom Command
To get started you need to create a directory named .github/prompts at the root of your repository. Inside this folder create a new file. The naming convention is crucial here. The file must end with the .prompt.md extension for Copilot to recognize it.
Let us create a simple code review command. Create a file named review.prompt.md. At the very top of this file you need to add some metadata using YAML frontmatter format. This tells VS Code how to present the command in the suggestions menu.
---
description: Perform a security and style review of the selected code.
---

Review the following code for security vulnerabilities and ensure it follows our team's naming conventions.

# Selected Code:

${selectedText}
Once you save this file open Copilot Chat and type /review. You will see your new command appear. Selecting it will automatically inject your predefined prompt into the chat context along with whatever code you currently have highlighted in your editor.
Moving From CLI Tools to Copilot
If you are coming from terminal based AI tools like Claude Code or Gemini CLI you need to adjust your mindset slightly. Those tools often run directly in your shell and can execute commands on your behalf. Copilot is designed to be safer and more integrated into the editor environment.
Copilot prompt files cannot run shell commands like git status directly. Instead you must rely on VS Code context variables.
Instead of the syntax you might be used to in other tools Copilot uses specific variables to inject dynamic context. You will use ${selectedText} to grab currently highlighted code. You can use ${file} to reference the current active file and ${workspaceFolder} for the project root path.
Porting a Complex Workflow
Let us look at a real world use case. I used to rely heavily on a custom CLI command to generate semantic git commit messages based on my staged changes. In the terminal the tool ran git diff behind the scenes to get the context. In Copilot we cannot do that directly inside the prompt file.
We have to rewrite the prompt to accept context injected explicitly by the user. We use special variables at the bottom of our prompt file to catch whatever the user attaches to the chat.
Here is how you would adapt a commit message generator named gcm.prompt.md.
---
description: Generate a formatted git commit message from staged changes
---

# Git Commit Message Generator

You are an expert at writing clean, professional Git commit messages.
Analyze the staged changes provided in the context specifically looking at #git:staged context.

## Instructions

Generate the commit message based ONLY on the staged changes provided.
ONLY provide the final commit message text inside a markdown code block.

# Context to analyze:

${selection}
${context}
To use this command you do not just type /gcm. You need to give it the right context. You would type /gcm #git:staged in the chat. This tells Copilot to execute your prompt and feed it the output of your current staged git changes. It is a slight workflow adjustment but keeps everything contained neatly within the editor.
Going Global
I quickly realized I did not want to manually copy these utility files into every single repository I worked on. Sometimes I have personal workflows that do not belong in a shared team repository.
Fortunately you can make your prompts global very easily. The most reliable way is using the VS Code Command Palette. Open it and search for Chat Configure Prompt Files. When prompted choose User Profile.
This creates the necessary files in your local machine user data folder. Any prompt files saved there will be available as custom slash commands in any project you open in VS Code.