Efficiently Managing Git Pull Conflicts with Git Stash
Learn how to resolve Git pull conflicts using git stash without losing your local changes. This step-by-step guide ensures smooth collaboration and conflict-free Git workflows

Background Story: The Frustrating Git Pull Error
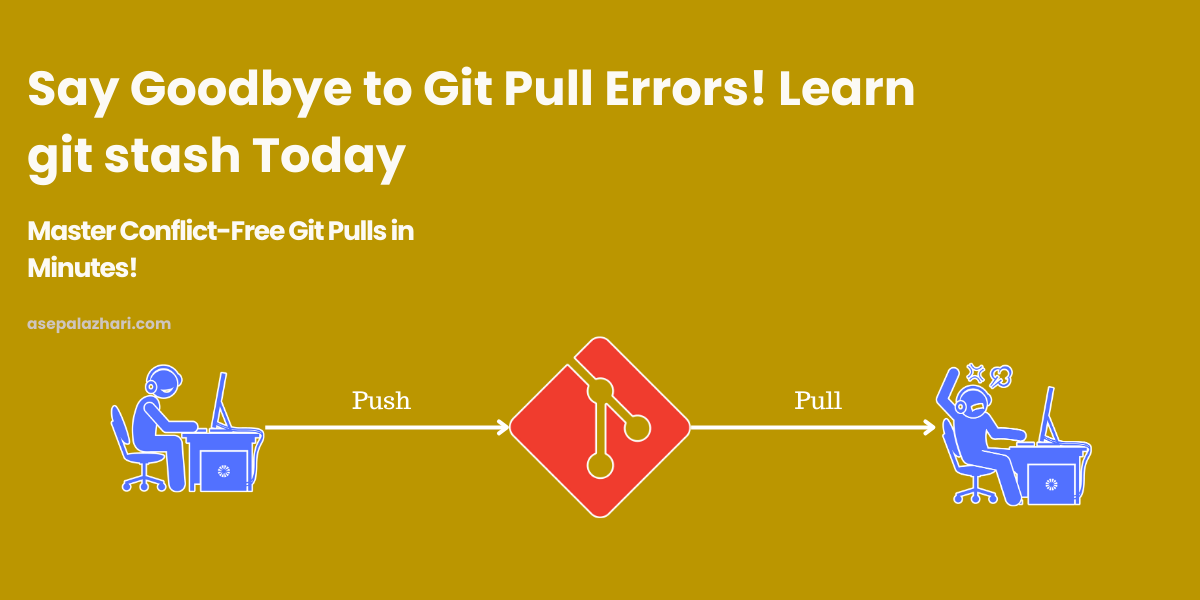
Imagine you’re in the middle of developing a new feature, carefully tweaking your code to perfection. You decide to pull the latest updates from your team’s repository to stay synchronized. But instead of a smooth update, you’re greeted by this dreaded error message:
error: Cannot pull with rebase, you have unstaged changes.
error: please commit or stash them.
You’re now stuck. Committing changes isn’t ideal yet, and you’re not ready to discard your work. This is where git stash becomes a lifesaver.
Why Use git stash?
git stash allows you to temporarily save your uncommitted changes without needing to commit them. This is incredibly useful in scenarios like:
- Resolving conflicts during Git pulls.
- Switching between branches without committing partial work.
- Keeping your working directory clean when debugging issues on a different part of the codebase.
When to Use git stash
Use git stash in situations where:
- Your work isn’t ready for a commit.
- You want to pull the latest changes or switch branches.
- You need to debug or test something unrelated without losing your current progress.
Also Read: How to Hide Git History in VS Code for a Cleaner Workspace
Step-by-Step Guide to Using git stash for Conflict-Free Pulls
1. Stash Your Changes Temporarily
To save your changes and get a clean working directory:
git stash save "Temporary stash before pull"This command stores your changes safely in the stash list.
2. Pull the Latest Updates
Now that your working directory is clean, run the pull command:
git pull --tags -r origin devThis fetches and rebases your local branch with the remote dev branch.
3. Apply Stashed Changes Back
Bring your changes back after pulling:
git stash popPro Tip: If conflicts arise during this step, resolve them manually and commit the resolved files.
4. Verify and Continue
After applying the stash, make sure everything works as expected. Run your tests and ensure no errors are introduced.
Common Commands for Managing Stashes
Here are other helpful stash commands:
List available stashes:
git stash listApply a specific stash:
git stash apply stash@{1}Drop a specific stash:
git stash drop stash@{0}Clear all stashes:
git stash clear
Best Practices When Using git stash
- Name Your Stashes: Always provide descriptive names to your stashes to identify them easily.
- Commit Often: Regular commits reduce the need to stash frequently.
- Clean Up: Periodically clear unnecessary stashes to keep your repository clean.
Also Read: Fixing Yarn Compatibility Issues on Cloudflare Pages Build v2: A Step-by-Step Guide
Conclusion
By mastering git stash, you ensure a smooth and conflict-free Git workflow, allowing you to focus on developing great code without unnecessary interruptions. Whether you’re pulling updates or switching branches, this tool is a must-have for any developer’s toolkit.


